Services
Measuring
Fitting Vinyl Flooring
Solid Floors
The sequence of photographs which follow show the sequence of events when fitting Karndean Vinyl tiles on a solid floor (clicking on any picture will show a magnified version).
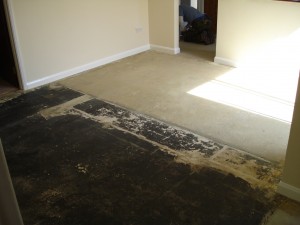
First the existing covering is removed:
In the case shown, a kitchen diner and utility room, previously had carpet in the dining area and vinyl flooring in the kitchen and utility areas. The original floor clearly shows signs of a previous tiled area in the dining area and a newer concreted area where the room/property has been extended.To ensure the new flooring has a smooth and level surface, a thin layer of latex is applied to the entire area.
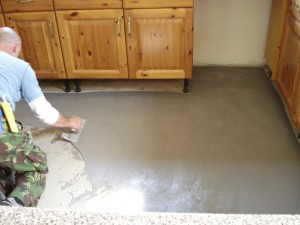
The latex layer:
The floor must be dry and as near dust free as possible before the latex is applied. This will ensure the new layer adheres properly to the old surface. The preparation team will also ensure that any high spots are removed during the process.
The latex dries very quickly and you should be able to walk on it within a couple of hours, however, to ensure full drying, we recommend the floor is left for at least 12 hours before final leveling and smoothing is started.
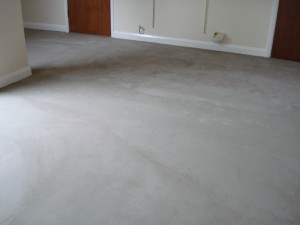
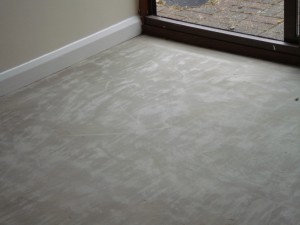
Smoothing the latex:
The final preparation stage is to check the latex is properly adhered to the old surface and to ensure it is smooth and contains no sharp high points which may damage or distort the new floor. This stage is usually completed by the floor fitter, a day after the latex has been laid, using a carborundum stone. Final preparation is critical to the process as it creates a very smooth, clean and dry surface ready for the adhesive and application of the tiles.
Laying the tiles:
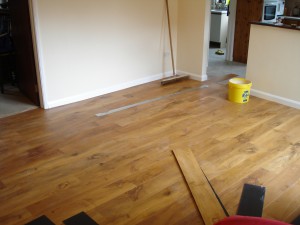
Before the fitter starts to lay tiles he will establish the optical centre line of the room/rooms to ensure the tiles are both efficiently used and that any “out of square” errors are minimized and hopefully completely hidden. In the case shown it was important that the tiles “run through” straight between the dining and kitchen areas.
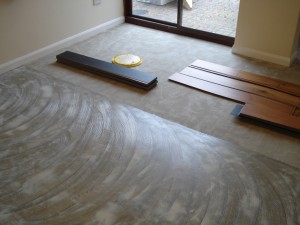
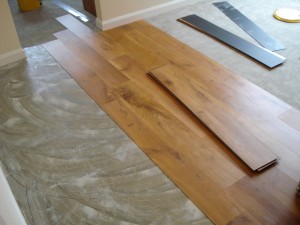
Working from the centre line, the floor is coated with adhesive and applied to the latex covered surface then, when the adhesive is ready, tiles are laid.

